DIY Installation of Stair Nosing: Tips and Tricks
Nosing gives risers and the Stair Treads a polished appearance. They also aid in preventing damage to the steps' edges. The majority of stair nosing strips provide a non-slip surface for the foot because of their fluted or grooved texture. Lastly, the little lip serves as a tangible indicator of the tread's location and keeps the foot from slipping off it.
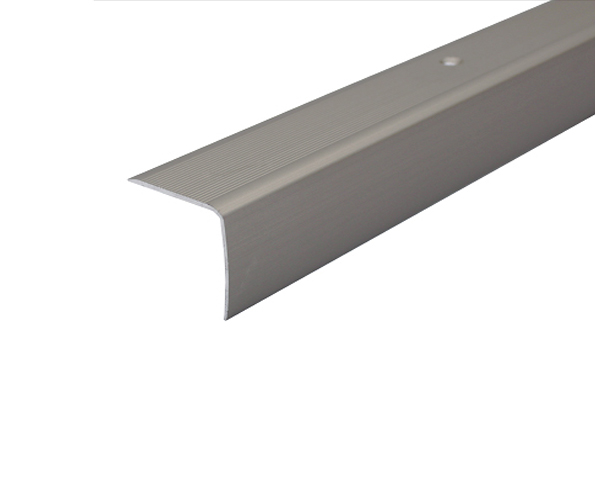
How to Install a Stair Nosing Strip?
- Take a measurement of the stair Measure the stair tread's width with a tape measure. You can just put the nosing in place and indicate where to cut it if one or both sides of the steps are open.
- Slice off the stair nosing strip. Note the stair nosing's breadth. Trim the nose to the desired length. Use tin snips or a hacksaw for plastic stair nosing. Aluminum is prone to leaving the metal burrs along the cut edge, so be careful when sawing. If burrs are visible, smooth the edge and remove them using a metal file.
- Install the stair nosing strip dry. Tightly position the strip on the stair tread's leading edge to check the fit. The strip has two sides: a curved side and a flat side with the nail holes. The curved side of the stair will press up on the riser, or front. The flat side of the stair will rest on top of the tread. Drill the pilot holes beforehand.
- You might be able to just pound the nails into the stair material on many steps. Certain circumstances call for a different strategy, such as when dealing with the tile, thick laminates, or various types of solid hardwood flooring. In order to properly pierce the subflooring, underlayment, and hard layers, you might need to pre-drill the nail holes.

- In these situations, transfer the nosing strip's hole locations by pencil-marking them on the step. Take off the Stair Nosing Strip. Simply use a drill bit that is marginally smaller than the diameter of the nails to drill a pilot hole in each spot for hardwood floors, laminates, or other hard surfaces.
- Put Adhesive Caulk in There Applying a tiny bead of sticky caulk behind the stair nosing adds strength, though it's not necessary in every scenario. Apply a bead of the sticky caulk, measuring between 1/4 and 3/8 of an inch, to the inside of the nosing strip's angle.
- Put the Stair Nosing Strip in Place Put the nosing strip where it will ultimately be. Working from one end to the other, hammer it into the place. Any extra adhesive that might have squeezed out should be wiped away right immediately. To ensure that the stair nosing strip stays in place, carefully press down on the loose end.
- A stair nosing strip's installation is often an easy task that most do-it-yourselfers can complete on their own. Hiring a professional to install stair nosing strips on a whole staircase may be a smart idea because it can be a time-consuming job.


Comments
Post a Comment