How to Install a Anti Slip Stair Nosing Strip - Step-by-Step Guide
Stair nosing strips often go unnoticed, but they play a crucial role in enhancing safety, reinforcing steps, and upgrading the appearance of your stairs. Positioned at the very edge of each step, these strips protect against chips, reduce slip risks, and withstand the wear and tear that can damage surfaces like wood or concrete. Whether you're working in a cozy family home or a bustling office lobby, installing Stair Nosing strips is an easy weekend project that's well worth your time. Available in materials such as aluminum, PVC, wood, or rubber, these strips are adhered or screwed onto the step edge, offering added texture, a clear visual boundary, and protection against moisture and scuffs.
Choosing the Right Material
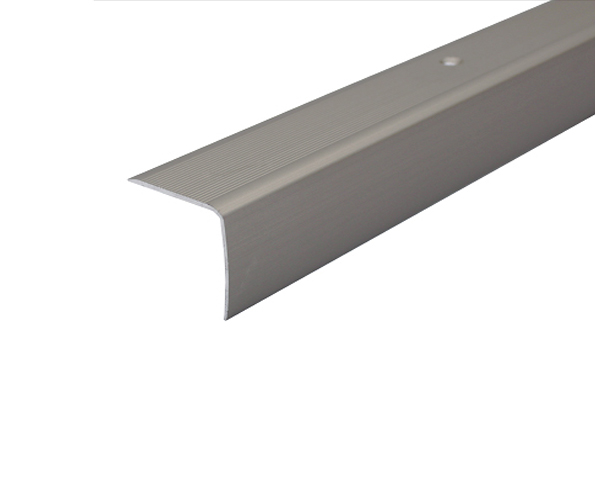
- Aluminum nosing: Durable, slip-resistant, and ideal for high-traffic workspaces or outdoor steps.
- PVC or rubber nosing: Flexible and quiet, making them a great choice for indoor residential spaces.
- Wooden nosing: Blends seamlessly with hardwood stairs, providing a subtle look. However, these require proper sealing to prevent wear and water damage.
Installation Steps
1. Measure and Cut the Nosing Strips
Carefully measure the width of each step using a tape measure double-check for accuracy. Use a hacksaw for cutting aluminum or PVC strips, or a fine-tooth miter saw for wooden ones. Smooth any rough edges with sandpaper or a small file to ensure a clean finish.
2. Clean and Prepare the Stairs
Start with clean, dry stairs to guarantee a secure bond. Remove dust, crumbs, or adhesive residue by sweeping or vacuuming. For adhesive installations, lightly sand the step surfaces with 120-grit sandpaper, wipe away the particles with a damp cloth, and allow everything to dry completely.

3. Mark the Drill Holes
Position the Stair Nosing Strip on the edge of the step to align it properly. Use a pencil or marking tape to indicate where the screws will go. Most strips come with pre-drilled holes, but you can drill additional ones if needed. Keep screw spacing between six and ten inches to ensure the strip remains flat and secure over time.
4. Drill Pilot Holes
Using the marked spots as a guide, drill pilot holes with a bit suitable for your stair material whether it's wood, tile, or concrete. For tile or concrete steps, use a masonry bit and insert plastic anchors to provide extra stability.
5. Secure the Nosing Strips
Follow the manufacturer's instructions closely. Strips can be secured with screws, adhesive, or both methods for added durability:
Screw Installation: Insert screws into the pilot holes and tighten them securely without over-tightening to avoid bending the strip.
Combination Adhesive and Screws: For high-traffic areas, use both methods to create the strongest hold.
6. Verify Fit and Finish
Ensure each installed strip is flush with the step surface and securely fastened. There should be no visible gaps or sharp edges that could cause trips or injuries. Wipe away any excess adhesive with a clean cloth and confirm that all screws are evenly inserted without protruding.
Maintenance Tips for Stair Nosing Strips
- Cleaning: Regularly wipe down the strips to remove dirt and maintain grip for shoes.
- Inspection: Periodically check for loose screws or bent edges and address them promptly.
- Replacement: Replace worn-out strips that show signs of damage such as cracks or thinning to maintain safety standards.
Benefits of Stair Nosing
- Enhanced Safety: Prevents slips by providing extra grip, especially on polished wood or smooth tiles.
- Durability: Protects stair edges from everyday damage like chipping and denting.
- Improved Visibility: Contrasting colors or reflective materials make steps easier to see in low-light conditions.
Installing Anti Slip Stair Nosing strips is a straightforward yet impactful DIY task that significantly improves both the safety and longevity of your stairs. Whether you're working on residential or commercial staircases, choosing the right material and installation method is key to achieving durable results. By following these steps, you'll create safe, long-lasting stairs that look stylish and function perfectly for years to come.
If you're uncertain about some steps or dealing with complex stair materials, consider consulting or hiring a professional installer for expert guidance or assistance.


Comments
Post a Comment